
Have a Question?
Container Basics and Using Apptainer on the HPC (Workshop Activities)
Exercise 1: (HPC Basics)
1. Go to the ARCC login page and enter your credentials:
The landing page is where you will start after signing in using your credentials:
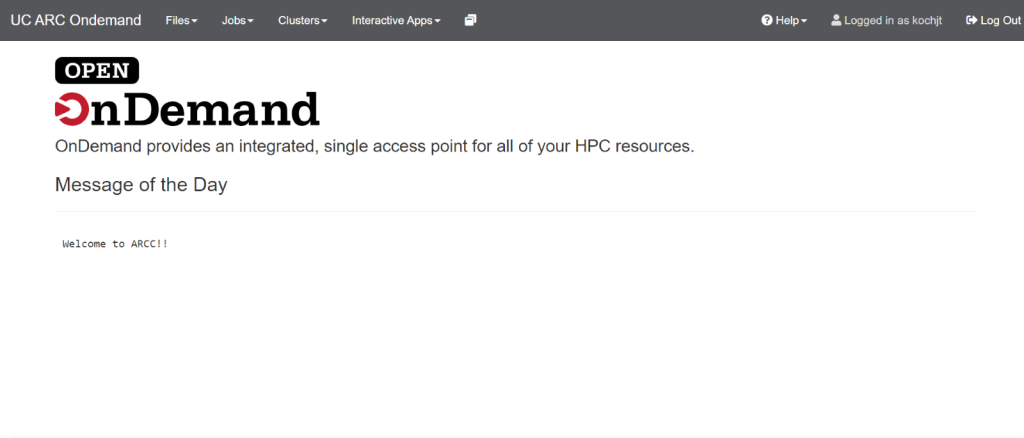
Figure 1. ARCC Landing Page
If you wish to upload files there is a home directory:
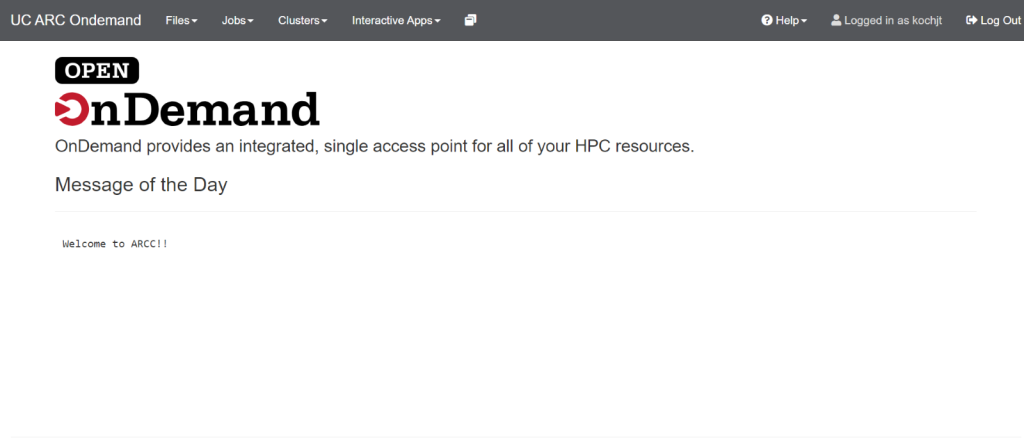
Figure 2. Navigating to your home directory
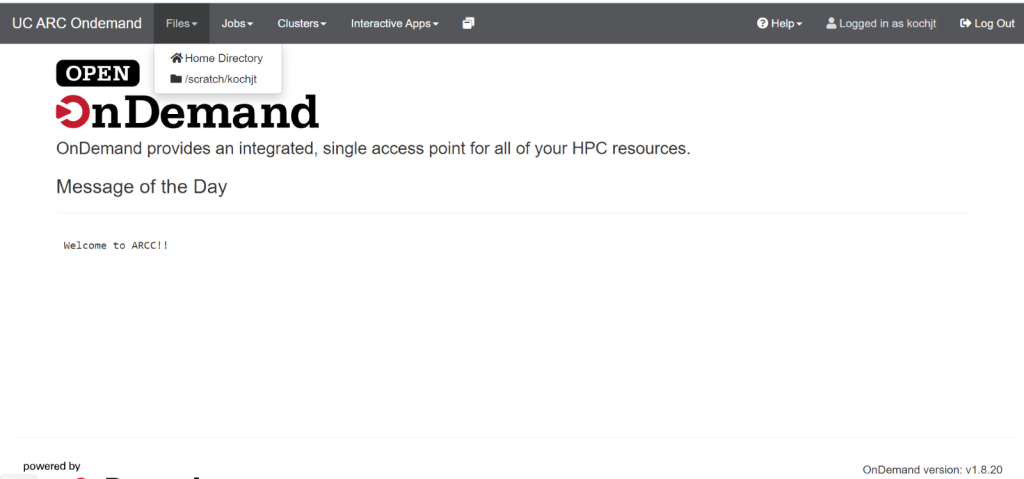
Figure 3. Selecting your home directory
This will bring you to the following page which will allow you to transfer files and and upload your data you wish to work with:
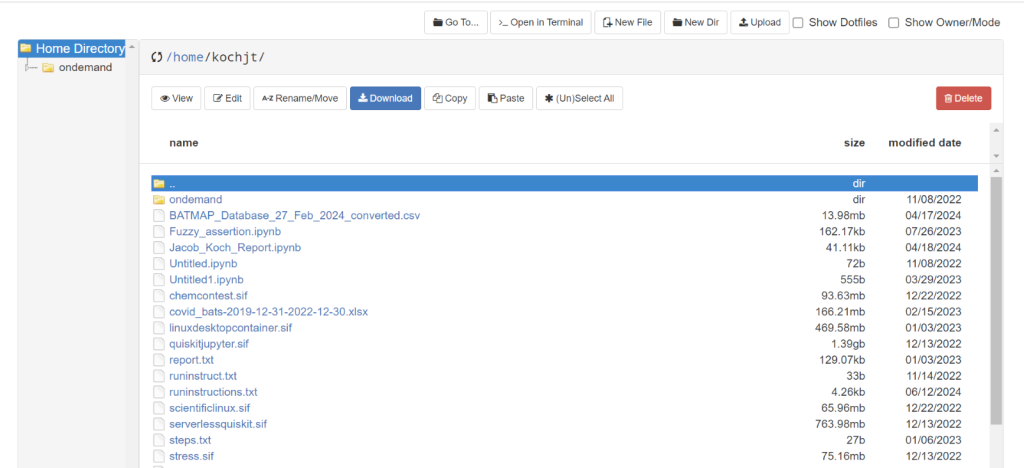
Figure 4. File transfer page
2. Navigate to My interactive session to launch a 1 core session.
Launch Single Core Instance by clicking interactive sessions
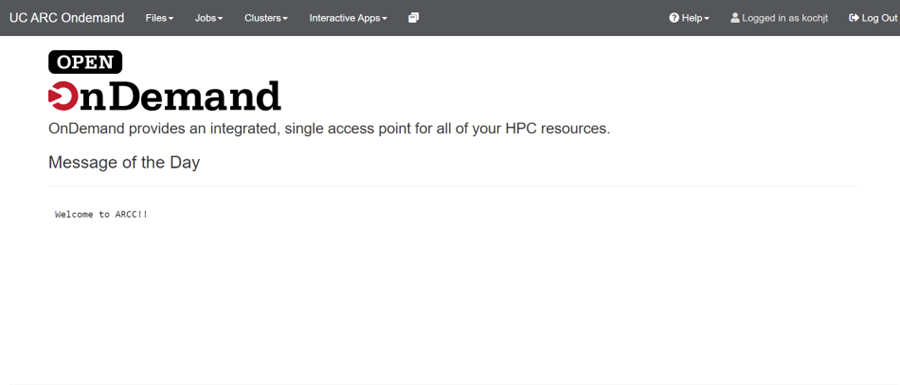
Figure 5. Selecting Interactive Sesions
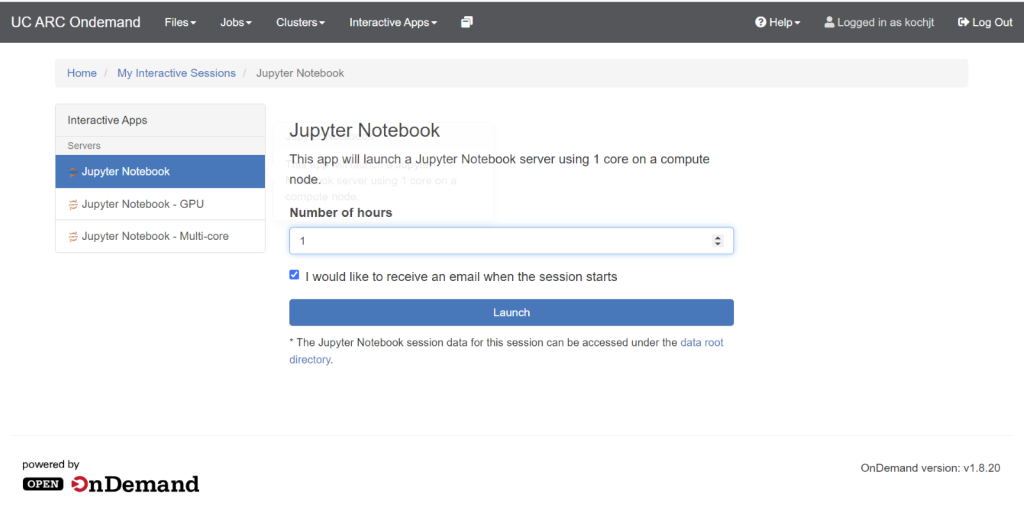
Figure 6. Running a 1 core notebook
Types of Notebooks:
Single-core: This is good for small jobs or testing out applications before paying for and waiting for larger pools of resources.
GPU: This uses GPU units to increase the performance and analysis of data. Certain types of workloads can benefit from this type of processing. This can also increase the speed and improve types of work such as large language models (LLMs).
Multi-core: This type of instance is good for more complicated processing that does not require GPUs or would be cost prohibitive. This is good to increase the performance and speed up analysis time for projects.
3. Navigate to the terminal: (This may require you to wait several minute before it will become available )
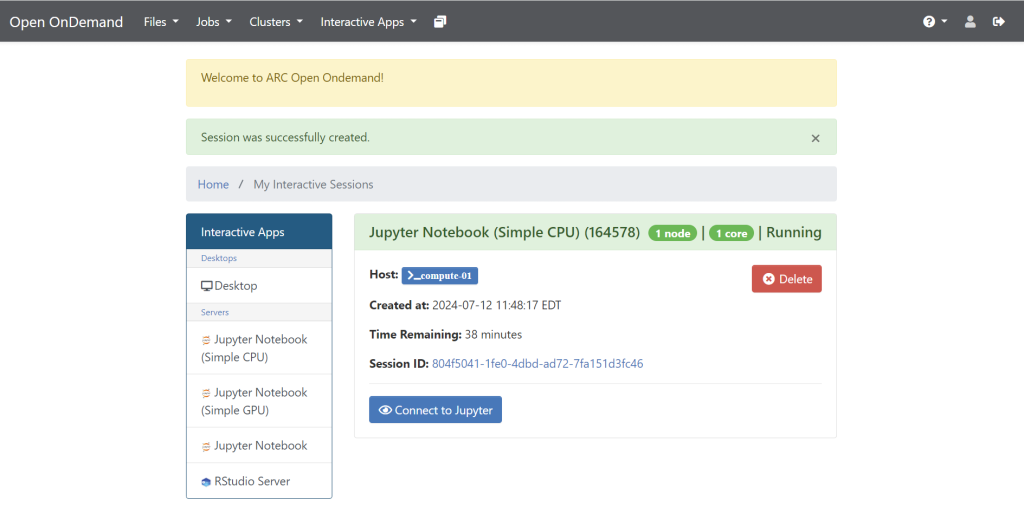
Figure 7. Accessing your interactive session
4. Click “connect” then click the drop down menu under “New” and select terminal to allow you to run jobs on the ARCC.
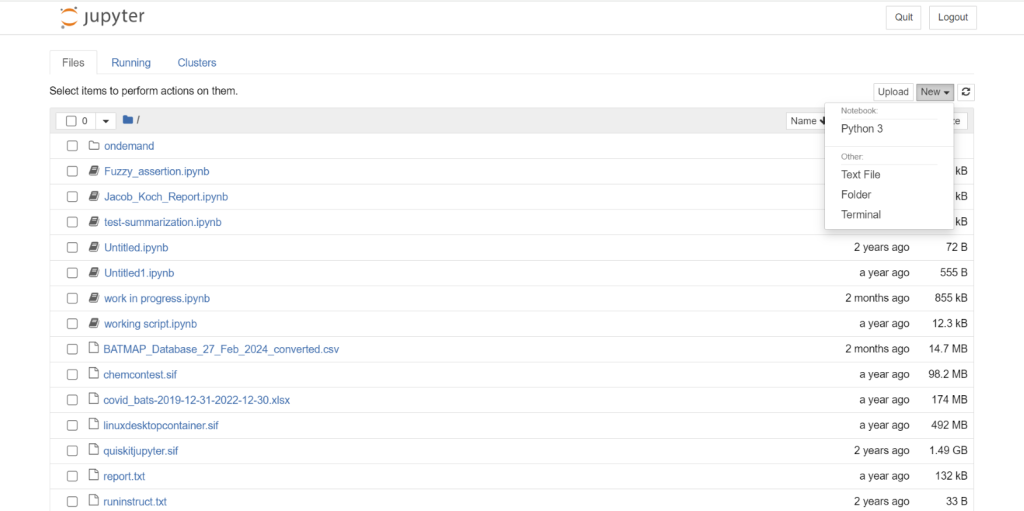
Figure 8. Opening a terminal in your interactive session for data management
5. Check modules on the ARCC:
“module avail”
alternatively
“module spider”
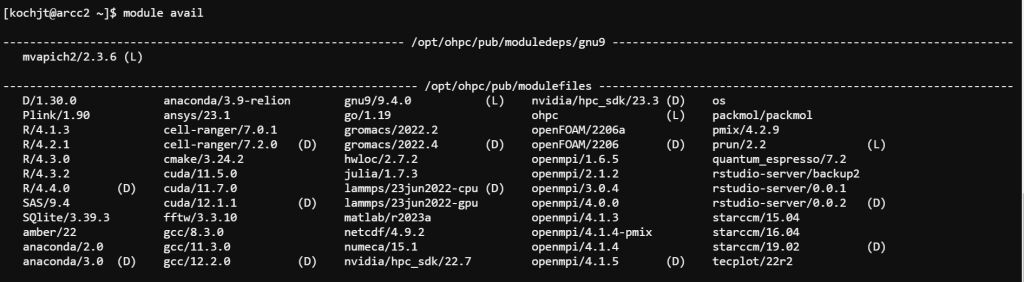
Figure 9. Viewing Available Modules on the ARCC
Singularity is loaded by default to use containers on ARCC, you can type “singularity help” to see additional commands and get help with using singularity.
Exercise 2: (Docker Container Basics)
Docker Desktop is a tool that can allow you to visualize and deploy workloads locally using a graphic interface. Docker Desktop also allows you to visualize how files in Dockerhub are configured, which can aid in creating your own Dockerfile. This can also show you vulnerabilities or other aspects you can inspect about a container file.
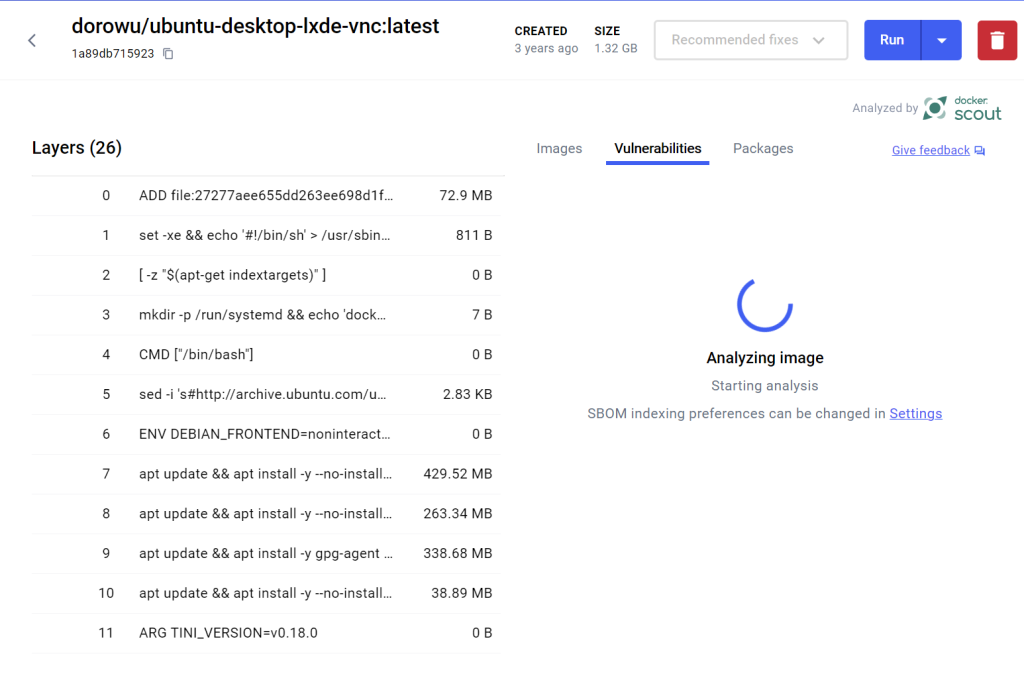
Figure 1. Examining how a container is structured on Docker Desktop
In order to download Docker Desktop to your device follow the instructions below based on your OS.
Downloading and installing Docker for each platform;
Windows
1. Go to Docker.com
Click “Products” then click “Docker Desktop”
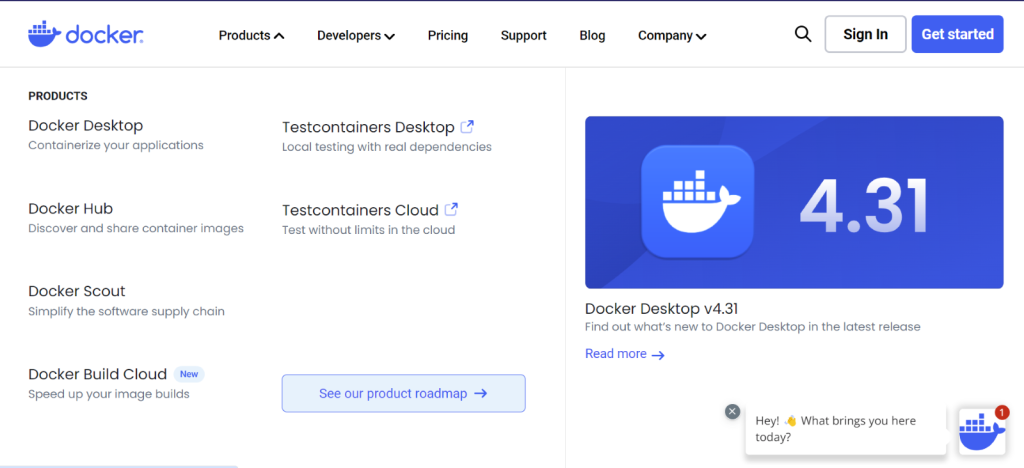
Figure 1. Docker Desktop Screen
2.Then click “Download” for Windows
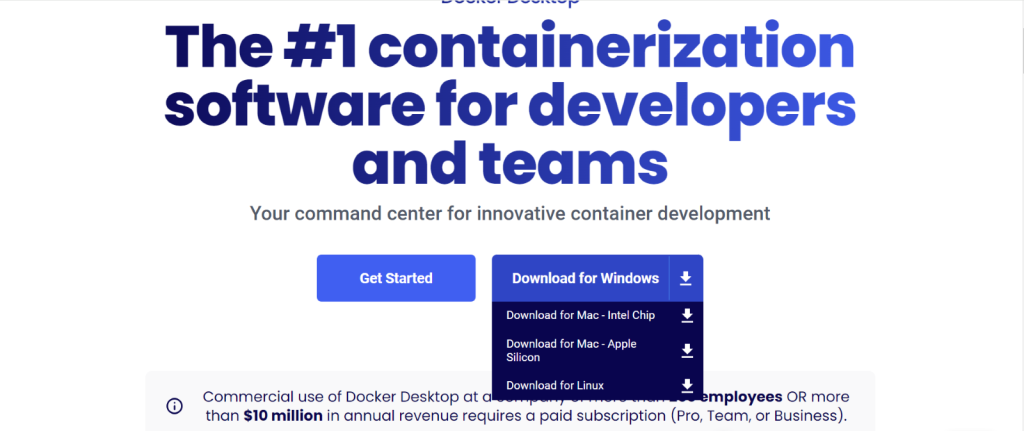
Figure 2. Docker Download Screen
3. Then Search and open Docker Desktop
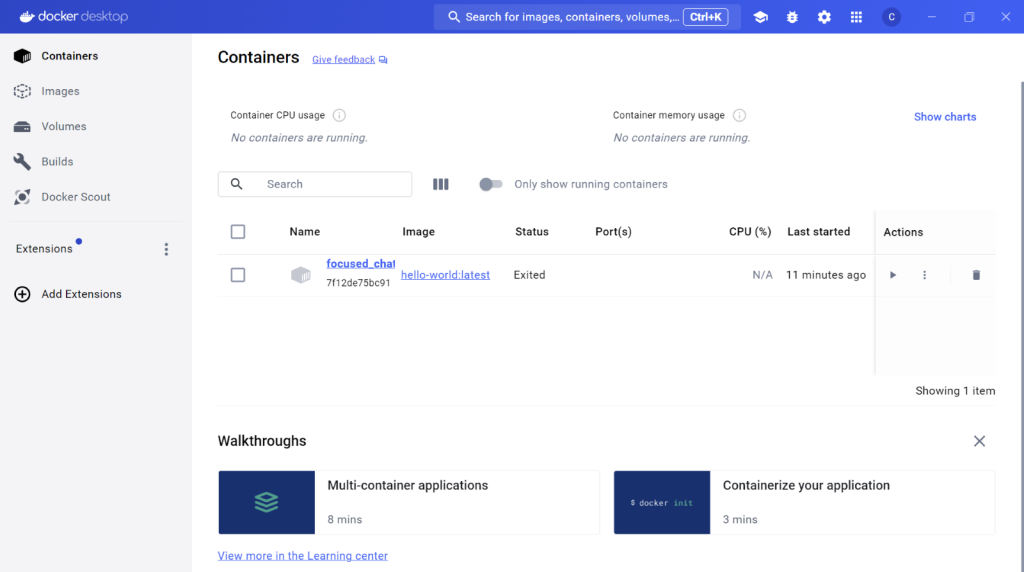
Figure 3. Docker Desktop landing page
Mac
1. Go to Docker.com
Click “Products” then click “Docker Desktop”
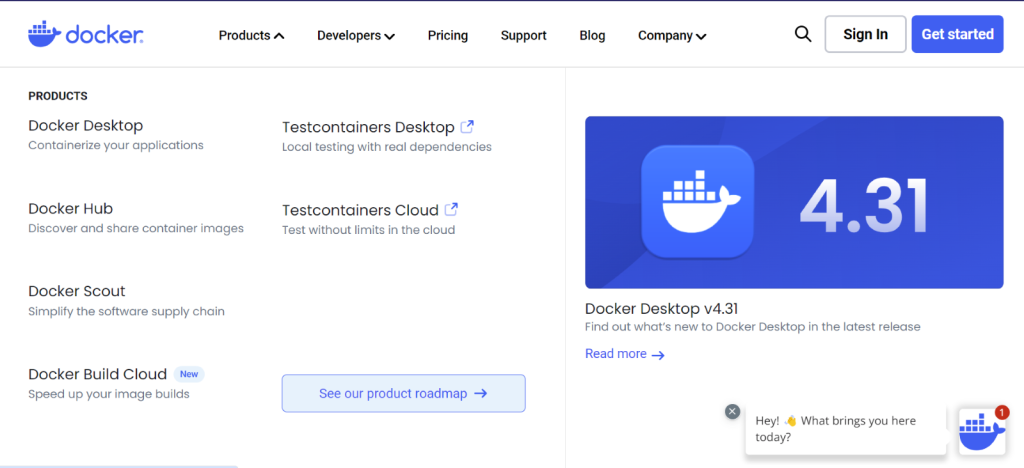
Figure 1. Docker Desktop Screen
2. Then click “Download” for Mac Apple-Silicon or intel chip based on your PC
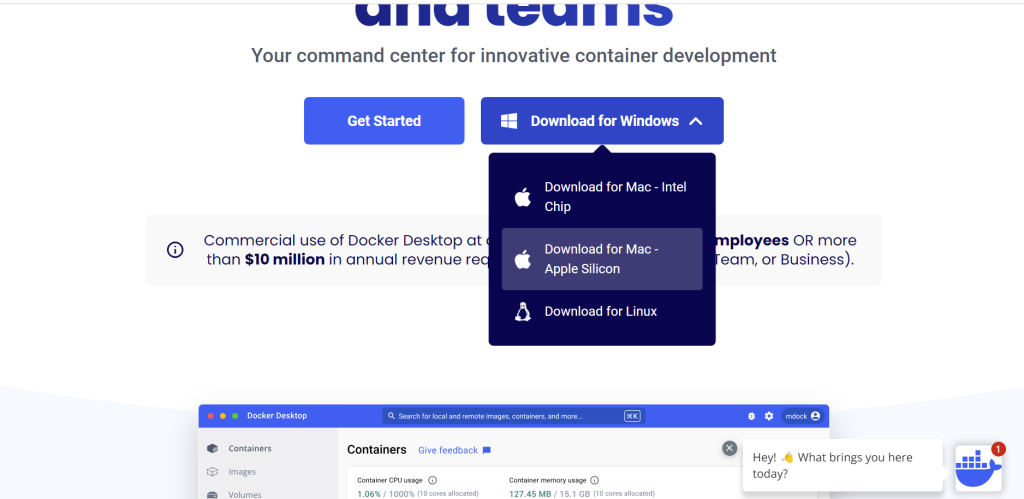
Figure 2. Docker Download Screen on Mac
3. Then Search in the finder and open Docker Desktop
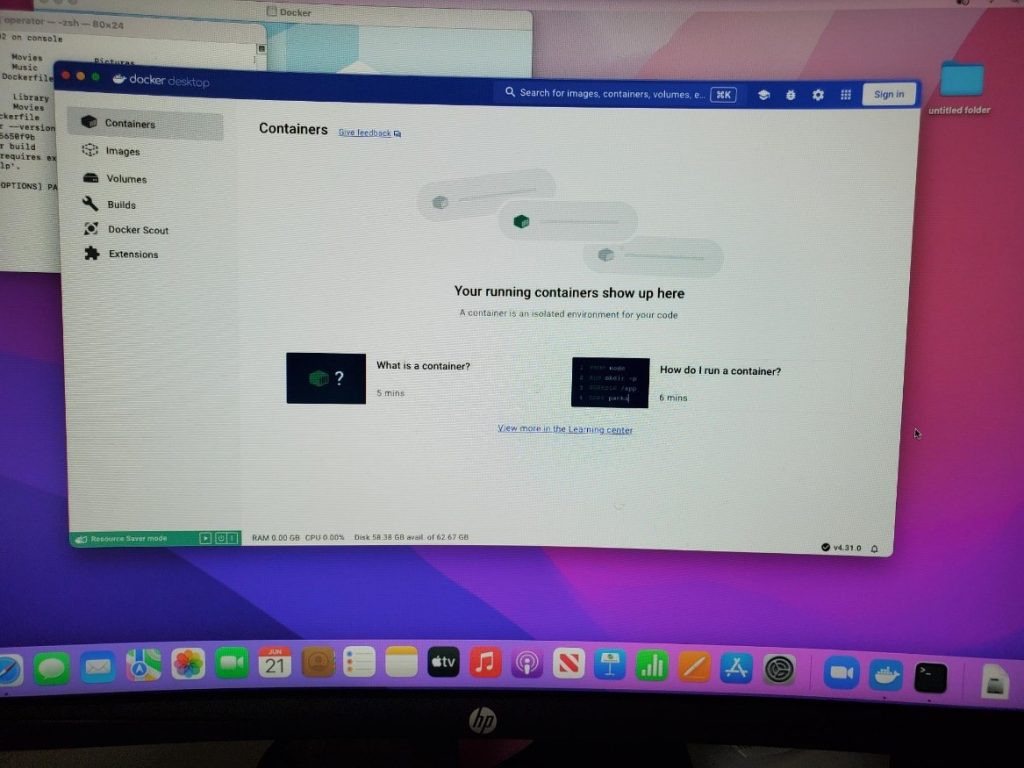
Figure 3. Docker desktop Landing page on Mac.
Linux
1. Go to Docker.com
Click “Products” then click “Docker Desktop”
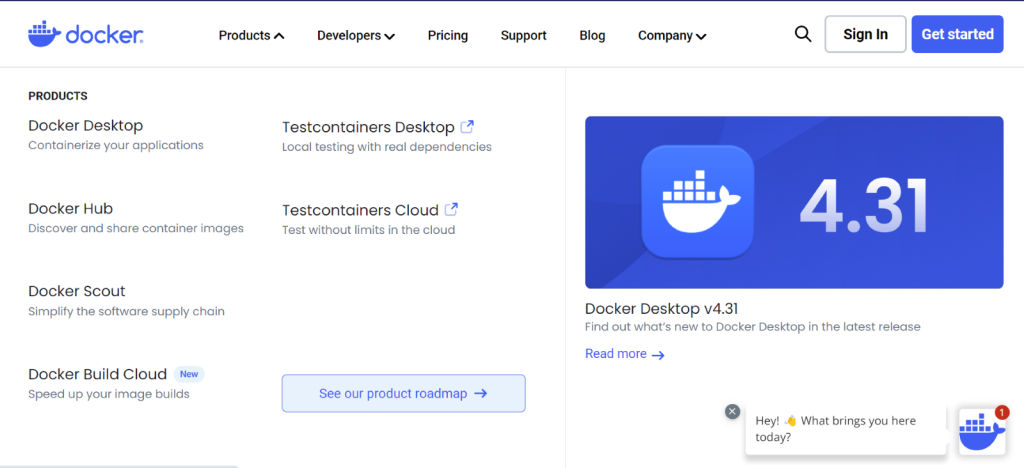
Figure 1. Docker Desktop Screen Linux
2. Then click “Download” for Linux
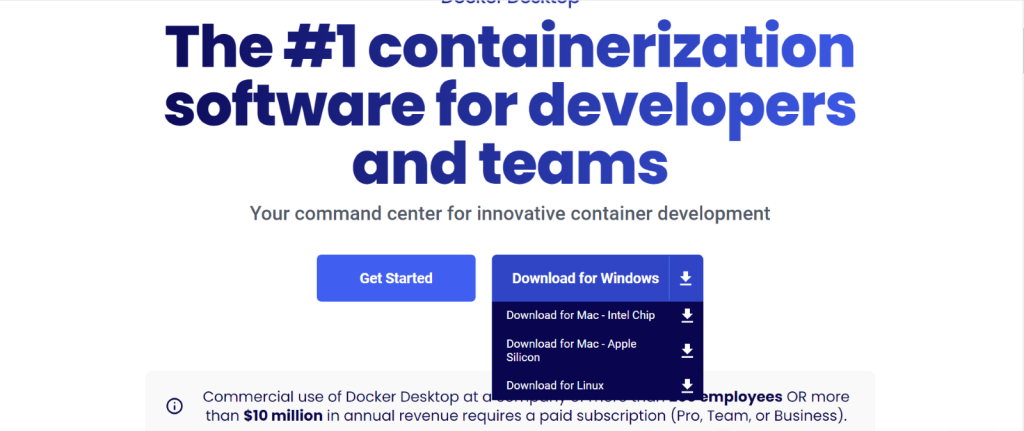
Figure 2. Docker Download Screen Linux
3. Search and open Docker Desktop
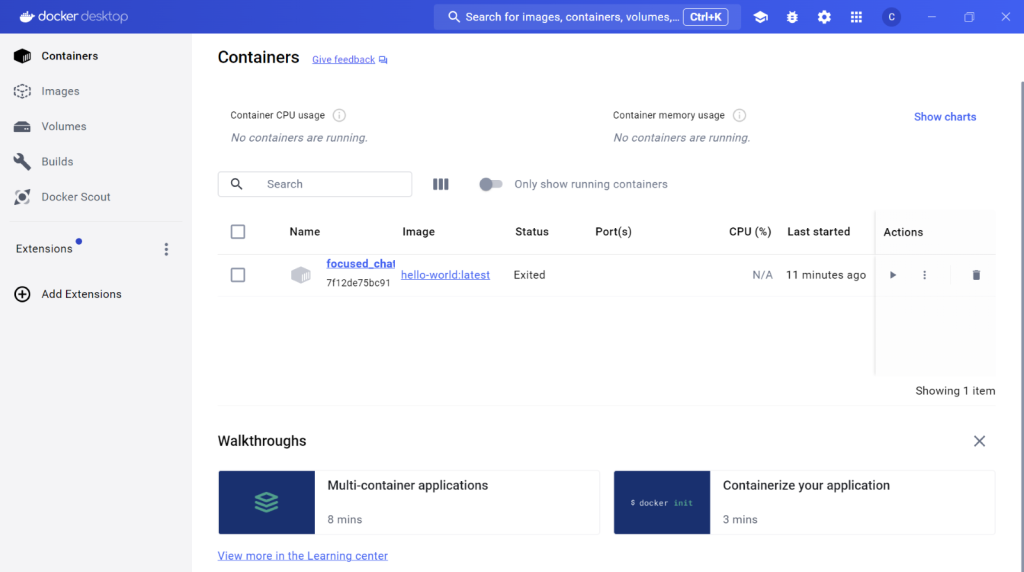
Figure 3. Docker desktop Landing Page Linux.
Alternatively
You can press CTRL + ALT+ T and run the quick install download script for command line Docker:
1. Update your system prior to installing Docker
“ sudo apt-get update “
2. Pull the Docker script from the online repo using the “Curl” command
“ curl -fsSL https://get.docker.com -o get-docker.sh ”
3. Run the script to install Docker
“ sudo sh ./get-docker.sh”
4. Verify that Docker was installed
“ Docker — version ”
This should output something similar to:
“ Docker version 26.1.4 ”
Create Dockerfile: (Note the captial “D” in Dockerfile is case sensitive and must be uppercase.)
Windows:
1. Open the Command Prompt by searching “cmd” in the search bar:
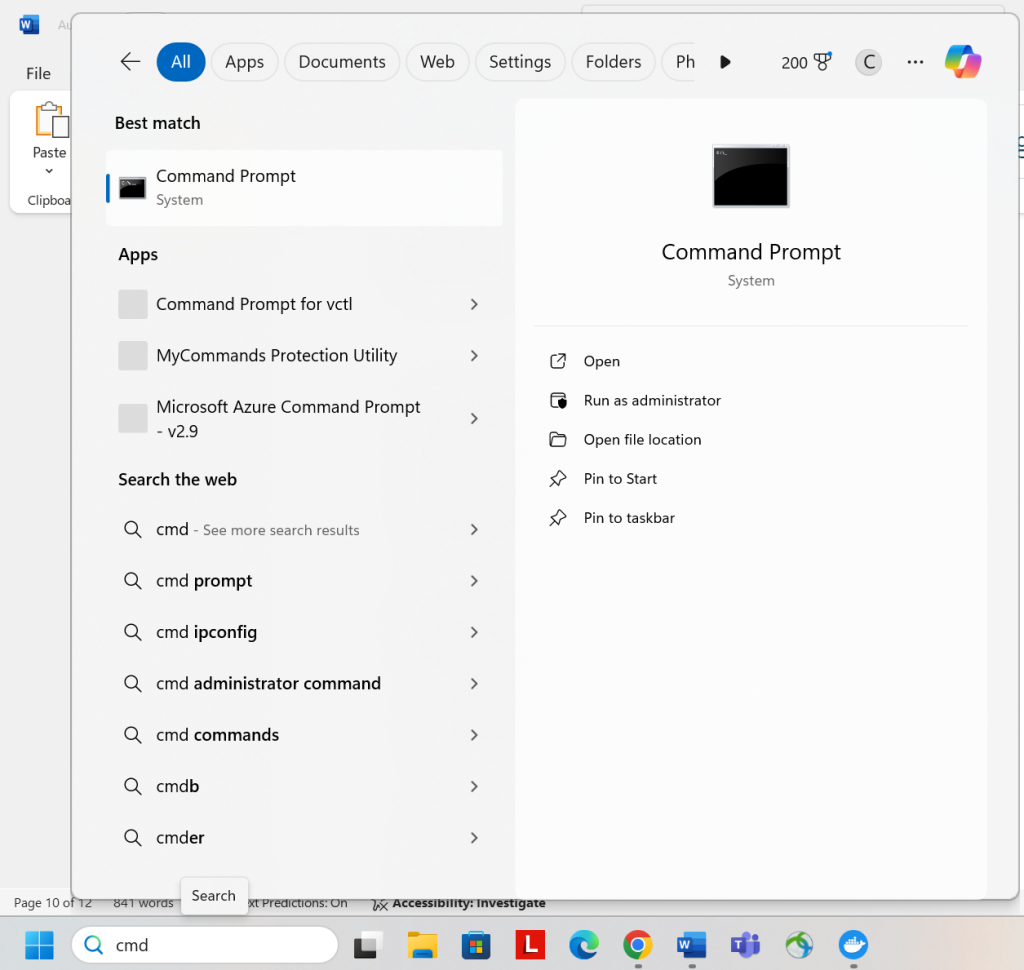
Figure 1. Going to the command prompt Windows
Then enter the following commands:
2. Create the Dockerfile
“echo .> Dockerfile”
3. Edit the Dockerfile:
“Notepad Dockerfile”
4. Edit the Dockerfile with the following content:
FROM ubuntu:18.04
# Install dependencies
RUN apt-get update && \
apt-get -y install apache2
# Install apache and write hello world message
RUN echo ‘Hello World, this is to test our apache container!’ > /var/www/html/index.html
# Configure apache
RUN echo ‘. /etc/apache2/envvars’ > /root/run_apache.sh && \
echo ‘mkdir -p /var/run/apache2’ >> /root/run_apache.sh && \
echo ‘mkdir -p /var/lock/apache2’ >> /root/run_apache.sh && \
echo ‘/usr/sbin/apache2 -D FOREGROUND’ >> /root/run_apache.sh && \
chmod 755 /root/run_apache.sh
EXPOSE 80
Figure 2. Dockerfile Code
5. Then enter the following command to run your container:
docker run -t -i -p 80:80 hello-apache
*Disregard the error that says it cannot find the fully qualified domain name your container should still function normally
6. Open your internet browser and enter the following address in the address bar:
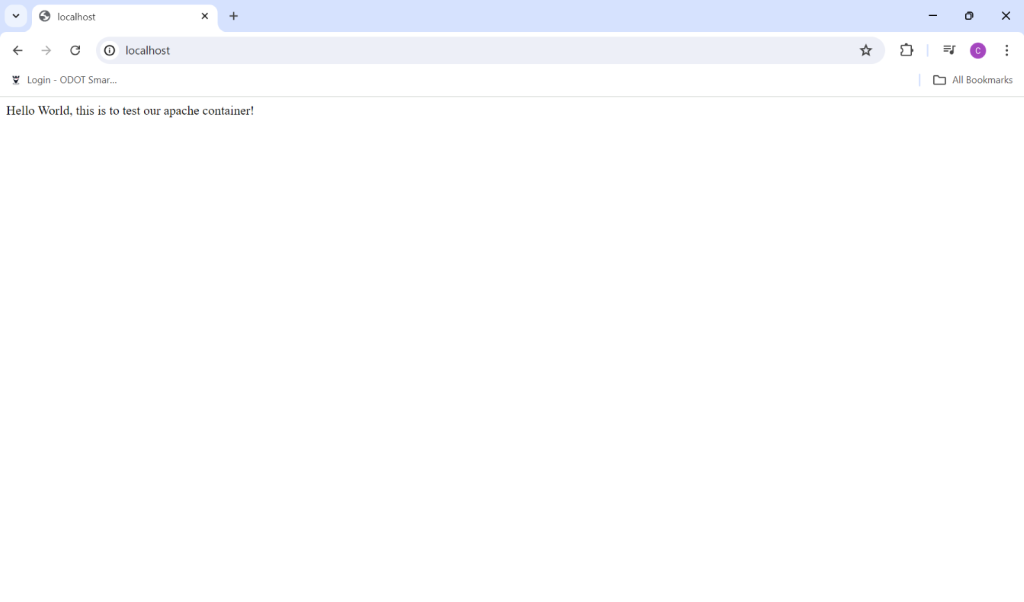
Figure 3. Browser Showing Active Apache Server
Linux (Ubuntu):
1. Open the Command Prompt by pressing “ctrl” + “alt” + “t”
2. Create the Dockerfile
“touch Dockerfile”
3. Edit the Dockerfile:
“vi Dockerfile”
4. Edit the Dockerfile with the following content:
FROM ubuntu:18.04
# Install dependencies
RUN apt-get update && \
apt-get -y install apache2
# Install apache and write hello world message
RUN echo ‘Hello World, this is to test our apache container!’ > /var/www/html/index.html
# Configure apache
RUN echo ‘. /etc/apache2/envvars’ > /root/run_apache.sh && \
echo ‘mkdir -p /var/run/apache2’ >> /root/run_apache.sh && \
echo ‘mkdir -p /var/lock/apache2’ >> /root/run_apache.sh && \
echo ‘/usr/sbin/apache2 -D FOREGROUND’ >> /root/run_apache.sh && \
chmod 755 /root/run_apache.sh
EXPOSE 80
Figure 1. Dockerfile Code Linux
5. Then enter the following command to run your container:
docker run -t -i -p 80:80 hello-apache
*Disregard the error that says it cannot find the fully qualified domain name your container should still function normally*
6. Open your internet browser and enter the following address in the address bar:
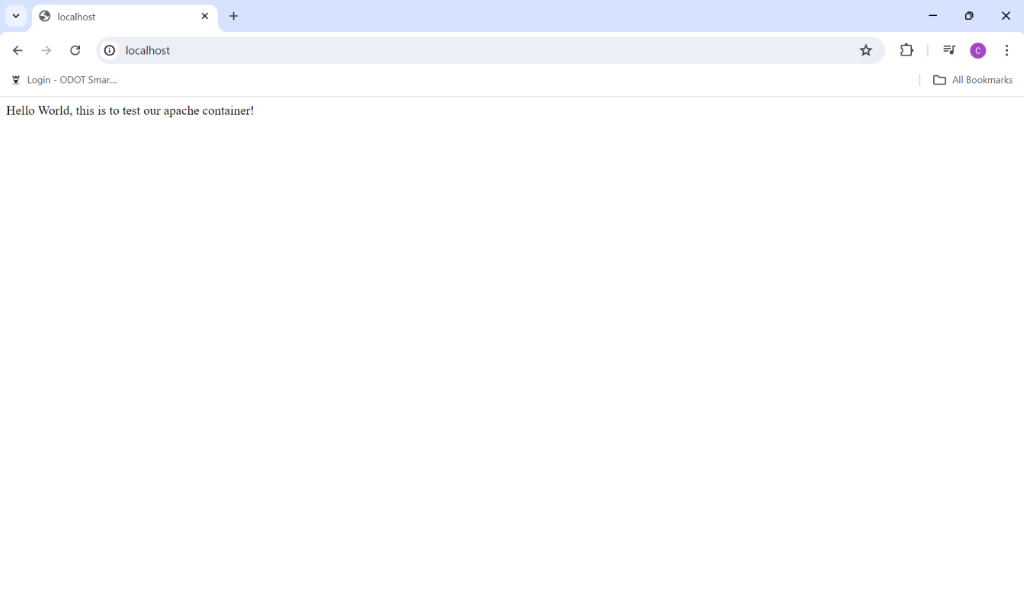
Figure 2. Browser Showing Active Apache Server
Mac:
1. Open the Command Prompt by right clicking and selecting the terminal option
“touch Dockerfile”
2. Edit the Dockerfile:
“vi Dockerfile”
3. Edit the Dockerfile with the following content:
FROM ubuntu:18.04
# Install dependencies
RUN apt-get update && \
apt-get -y install apache2
# Install apache and write hello world message
RUN echo ‘Hello World, this is to test our apache container!’ > /var/www/html/index.html
# Configure apache
RUN echo ‘. /etc/apache2/envvars’ > /root/run_apache.sh && \
echo ‘mkdir -p /var/run/apache2’ >> /root/run_apache.sh && \
echo ‘mkdir -p /var/lock/apache2’ >> /root/run_apache.sh && \
echo ‘/usr/sbin/apache2 -D FOREGROUND’ >> /root/run_apache.sh && \
chmod 755 /root/run_apache.sh
EXPOSE 80
Figure 1. Dockerfile Code Mac
4. Then enter the following command to run your container:
docker run -t -i -p 80:80 hello-apache
*Disregard the error that says it cannot find the fully qualified domain name your container should still function normally*
5. Open your internet browser and enter the following address in the address bar:

Figure 2. Browser Showing Active Apache Server
Pushing Your Existing Containers:
Sometimes when working on your workflows you create a container that is customized to the type of work you are trying to complete. You can bring your existing containers to the HPC by pushing it to docker hub or your private repository on docker hub. This is the same on all operating systems you can be accomplished with three quick steps after completing container that you create or update from an existing one.
1. First, open the command line of your system and enter the docker images command to see which images you currently have to work with.
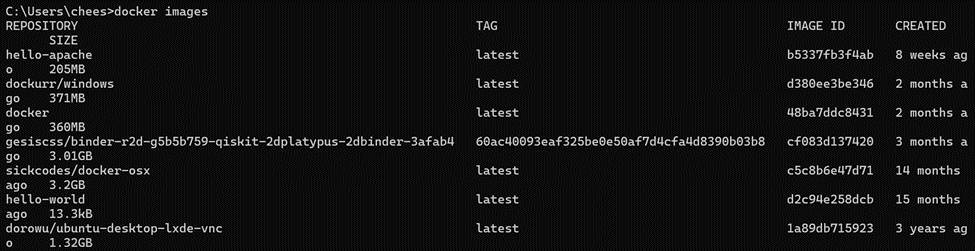
Figure 3. Viewing Docker Images in the Command line
2. In order to tag containers and docker you use this type of format for tagging container:
docker tag <image_id> <username>/<repository_name>:<tag>

Figure 4. Using the Docker Tag Command
First is your image name, followed by your username for docker, then the name of the container, and finally the version that you’re tagging it as. Verify your tag by using the “docker images” command.
3. Finally, docker desktop from the command line and select the container image that you just tagged from your existing images. After this click the three vertical dots and select push to Docker Hub. After doing so you will be able to share this container with anyone over the Internet as well as have access to this container regardless of the workspace.
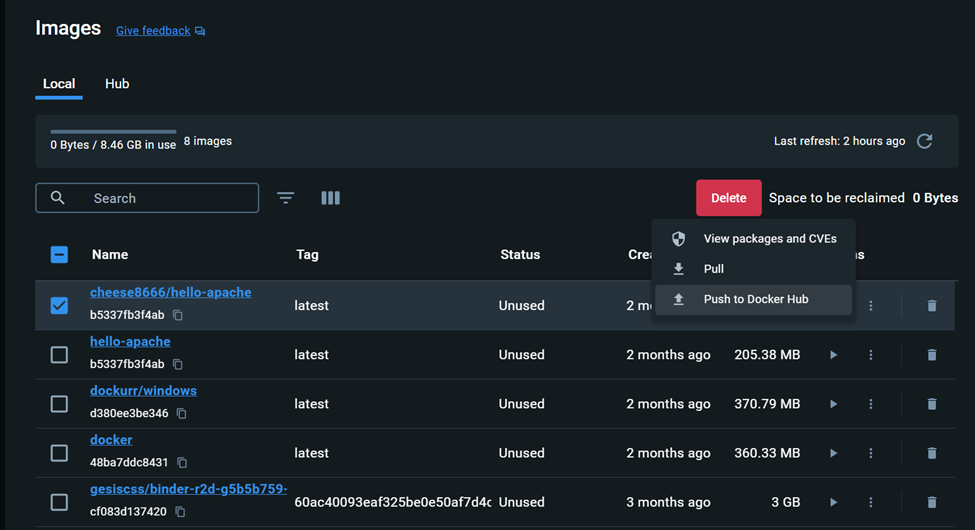
Figure 5. Pushing Your Finalized Container Back to Dockerhub
Exercise 3: Singularity(now Apptainer), Converting Docker Containers, and Running Containers
- Singularity (Apptainer) pull:
“ singularity pull hw.sif docker://hello-world “
The structure for pulling and converting Docker container files to singularity (now Apptainer) is:
Singularity first since it is a singularity module, then we are using the pull command, this is then followed by what we’re naming the sinularity sif file that we’re converting from another container service. Next is the service we’re pulling from, in this case it is from Dockerhub, which we simply put the directory path of Dockerhub found in the top left corner:
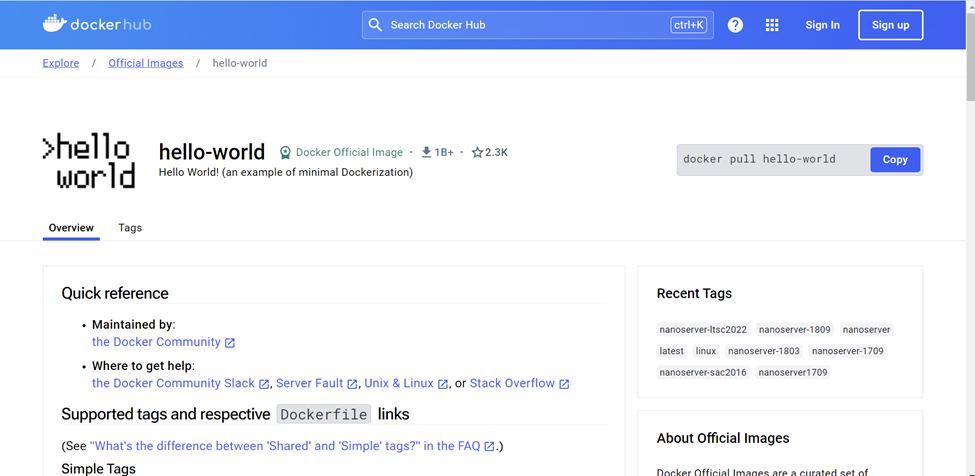
Figure 1. Dockerfile Dockerhub Hello World Page
If you wanted to pull another image from Dockerhub of a service that offers many containers you would still select the path and enter it after the forward slashes:
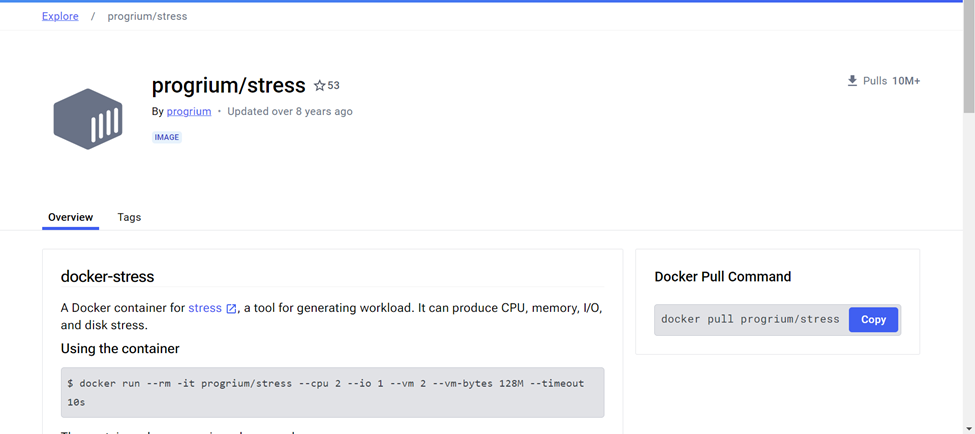
Figure 2. Dockerfile Dockerhub Stress Page
“ singularity pull stress.sif docker://progrium/stress ”
2. Singularity (Apptainer) run:
In order to run your containers, you simply preface it with a “./” which denotes to singularity (Apptainer) run this container file.
./hw.sif
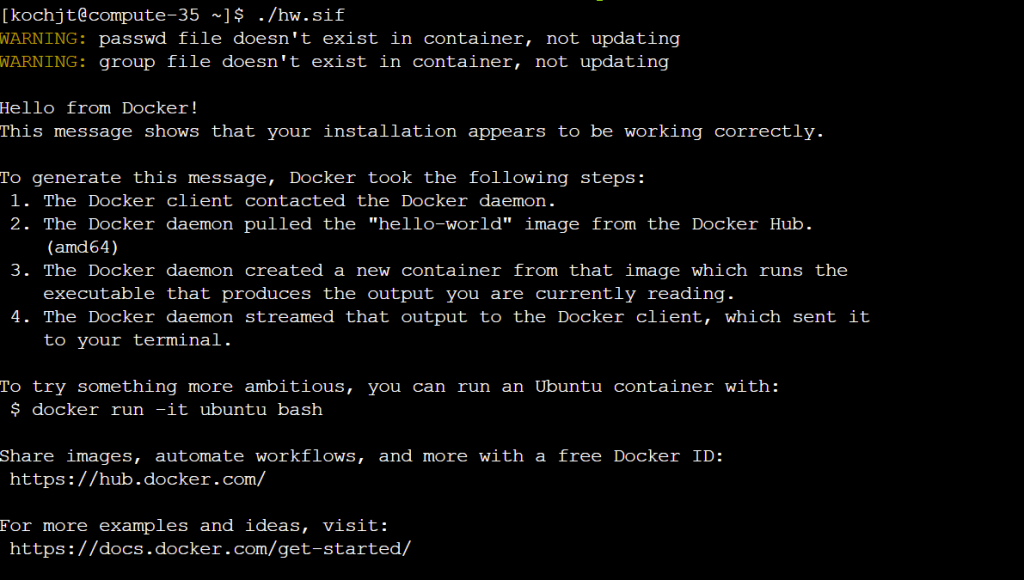
Figure 3. Running Hello World Singulariy file on the ARCC Cluster